

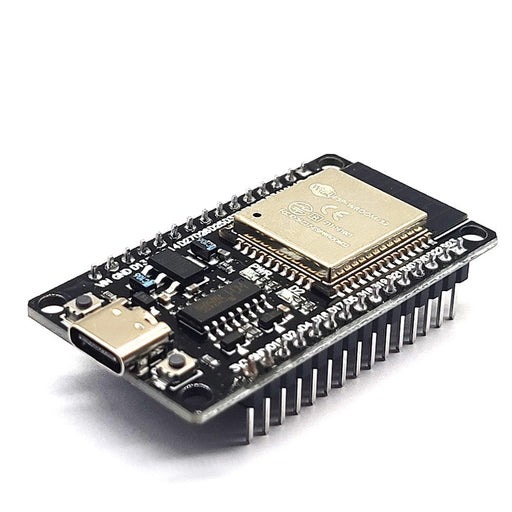
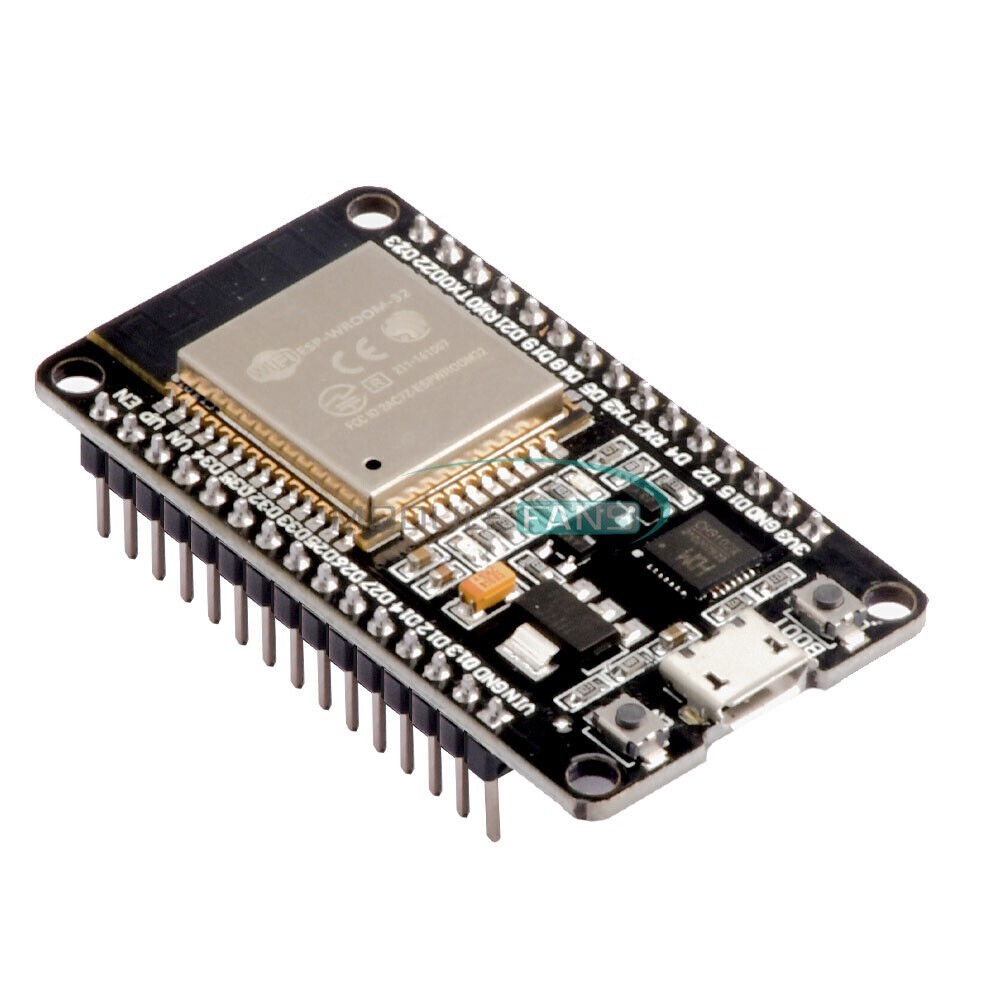
ESP-32S ESP-WROOM-32 Development Board 38P NodeMCU
- Microcontroller: ESP-WROOM-32 module
- Processor: Dual-core Tensilica LX6 microprocessor
- Clock Frequency: Up to 240 MHz
- WiFi Connectivity: 802.11 b/g/n 2.4 GHz
- Bluetooth Connectivity: Bluetooth v4.2 and BLE (Bluetooth Low Energy)
- GPIO Pins: Versatile GPIO options for flexible project development
- Integrated WiFi Module: Seamless connection to WiFi networks
- Programming Environment: Compatible with Arduino IDE
Unleash Connectivity with the ESP-32S ESP-WROOM-32 Development Board 38P NodeMCU
The ESP-WROOM-32 module is a powerful microcontroller that is perfect for IoT projects. It features a dual-core Tensilica LX6 microprocessor with a clock frequency of up to 240 MHz the module supports 802.11 b/g/n 2.4 GHz Wi-Fi and Bluetooth v4.2 and BLE (Bluetooth Low Energy) connectivity, making it ideal for wireless communication.
Key Features:
- Powerful NodeMCU Platform: The ESP-32S ESP-WROOM-32 is a robust NodeMCU development board, leveraging the capabilities of the ESP-WROOM-32 module. Embrace the power of NodeMCU with its extensive range of applications.
- Versatile GPIO Options: With NodeMCU GPIO, you have the flexibility to connect and control various devices effortlessly. Explore endless project possibilities by leveraging the GPIO capabilities of this development board.
- Effortless WiFi Integration: Seamlessly connect your NodeMCU to WiFi networks using the integrated WiFi module. Learn how to add NodeMCU in Arduino IDE and establish a reliable connection to the internet with ease.
- IoT Ready: Elevate your IoT projects using the ESP-32S ESP-WROOM-32. Utilize NodeMCU’s capabilities for IoT applications, connecting sensors like the MQ2 gas sensor for advanced monitoring.
- Interactive Development: Kickstart your NodeMCU journey with interactive development features. Learn how to connect NodeMCU to WiFi effortlessly, paving the way for smooth and uninterrupted project development.
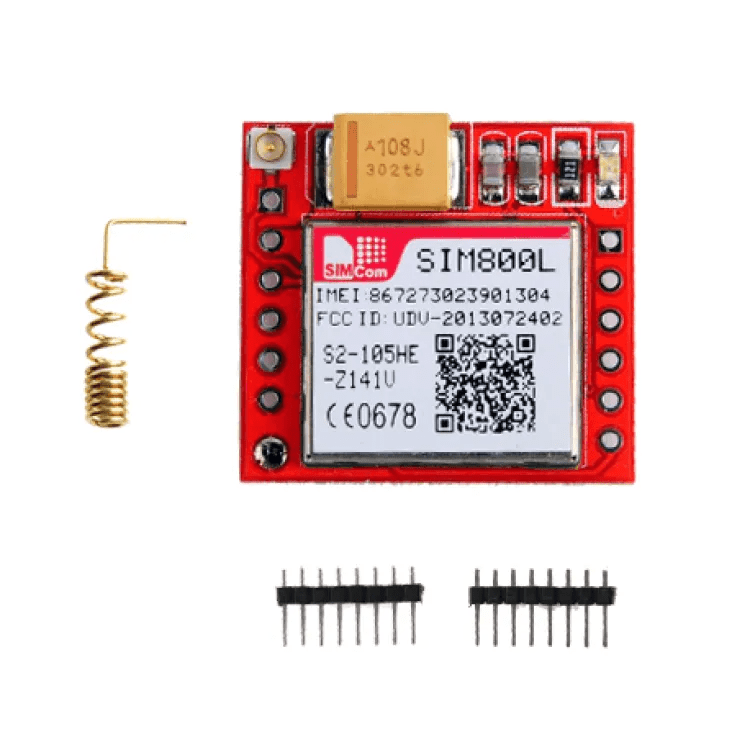
- Enhanced Compatibility: Enjoy compatibility with a range of devices and modules, including the GSM module. Explore innovative projects by integrating NodeMCU with Sim800L for enhanced communication capabilities.
- Seamless Integration with Arduino: Discover how to integrate NodeMCU with Arduino IDE for a hassle-free development experience. NodeMCU ESP8266 blink projects and other exciting endeavors become achievable with the integration of these powerful platforms.
- Interrupt Pins for Precision: Utilize NodeMCU interrupt pins for precise control in your projects. Enhance your applications with interrupt-driven functionality, adding a new dimension to your NodeMCU microcontroller projects.
- Simulation Software Compatibility: Experiment and simulate NodeMCU projects with ease using compatible simulation software. Test your ideas virtually before bringing them to life with the ESP-32S ESP-WROOM-32.
- Comparison with Arduino: Delve into the world of NodeMCU vs. Arduino. Explore the unique features and advantages that NodeMCU brings to the table, unlocking new possibilities for your projects.
- Inclusive Package: Receive the NodeMCU development board with comprehensive documentation and support. Learn how to troubleshoot common issues, including scenarios where the ESP8266 NodeMCU is not detected by your computer.
- Pricing in Bangladesh: Find NodeMCU at a competitive price in Bangladesh, making this powerful development board accessible to enthusiasts and professionals alike.
General Specifications of ESP-32S ESP-WROOM-32 Development Board 38P NodeMCU:
- Microcontroller: ESP-WROOM-32 module
- Processor: Dual-core Tensilica LX6 microprocessor
- Clock Frequency: Up to 240 MHz
- WiFi Connectivity: 802.11 b/g/n 2.4 GHz
- Bluetooth Connectivity: Bluetooth v4.2 and BLE (Bluetooth Low Energy)
- GPIO Pins: Versatile GPIO options for flexible project development
- Integrated WiFi Module: Seamless connection to WiFi networks
- Programming Environment: Compatible with Arduino IDE
- Power Supply: 3.3V (Note: All data port voltage should not exceed 3.6V)
Documentation:
how to set up Nodemcu
How to add NodeMCU in Arduino IDE:
- Open Arduino IDE.
- Go to “File” > “Preferences.”
- Enter the following URL in the “Additional Boards Manager URLs” field:
http://arduino.esp8266.com/stable/ package_esp8266com_index.json - Click “OK” to close the Preferences window.
- Go to “Tools” > “Board” > “Boards Manager.”
- Search for “esp8266” and install the package.
How to connect NodeMCU to WiFi:
- Use the
WiFi.begin(ssid, password)function in your Arduino code. - Replace
ssidwith your WiFi network name andpasswordwith your WiFi password. - Use
WiFi.status()to check the connection status.
How to connect NodeMCU to Arduino:
- Connect the Tx pin of NodeMCU to the Rx pin of Arduino and vice versa.
- Connect the GND and 3.3V pins of NodeMCU to GND and 5V pins of Arduino.
- Ensure common ground between NodeMCU and Arduino.
How to code NodeMCU:
- Write your Arduino code in the Arduino IDE.
- Use the NodeMCU specific functions provided by the ESP8266 core.
- Upload the code to NodeMCU using a USB cable.
How to connect NodeMCU with Arduino Uno:
- Connect Tx of NodeMCU to Rx of Arduino Uno and Rx of NodeMCU to Tx of Arduino Uno.
- Connect GND and 3.3V pins of NodeMCU to GND and 5V pins of Arduino Uno.
- Ensure common ground between NodeMCU and Arduino Uno.
How NodeMCU works:
- NodeMCU is an open-source firmware and development kit based on the ESP8266 WiFi module.
- It uses the Lua scripting language, making it easy to program.
- It connects to WiFi networks and can be programmed to perform various tasks, making it suitable for IoT applications.
| Technical Specification | Microcontroller: ESP-WROOM-32 module |
|---|
Be the first to review “ESP-32S ESP-WROOM-32 Development Board 38P NodeMCU”
Related products
Internet of things
Internet of things

Internet of things
Internet of things
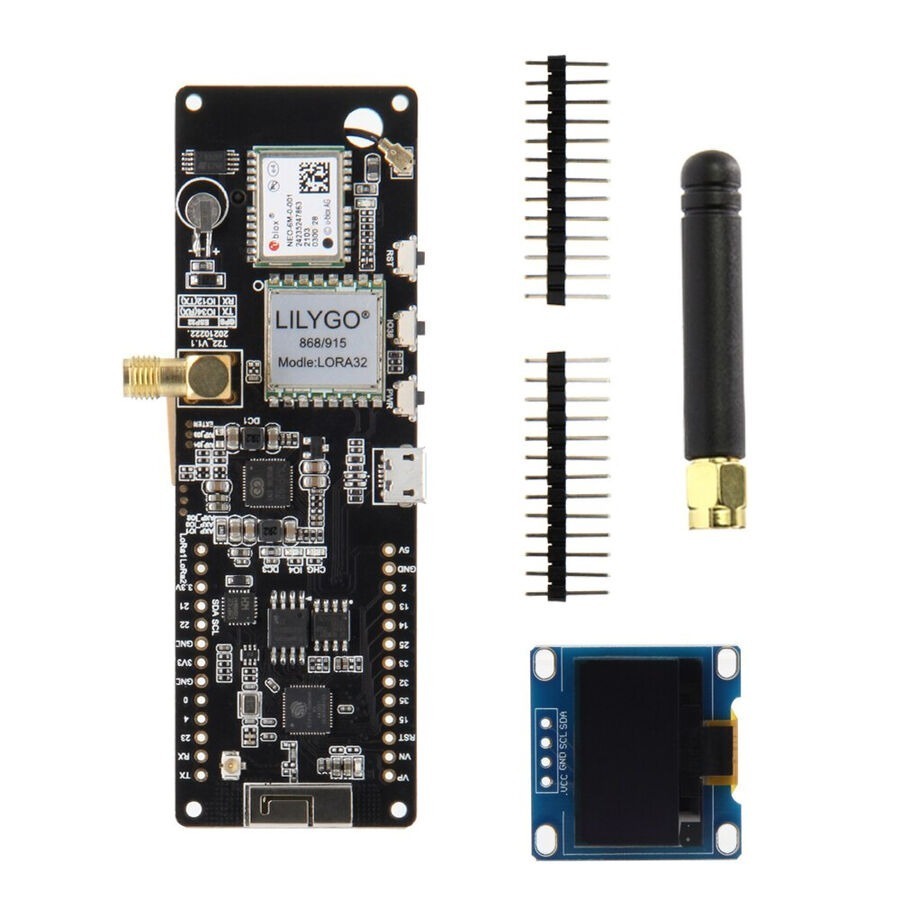
TTGO Meshtastic T-Beam V1.1 ESP32 WiFi Bluetooth GPS with OLED
Internet of things
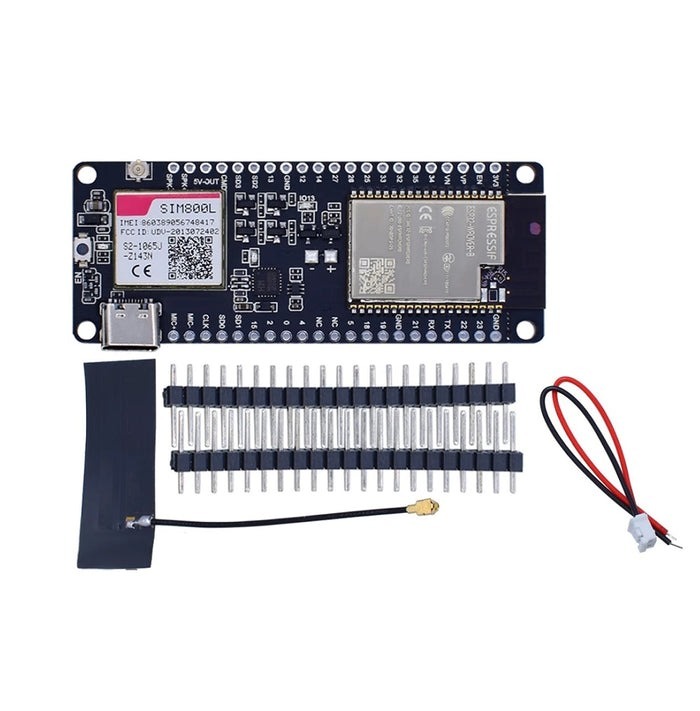
TTGO T-Call ESP32 Wireless Module GPRS Antenna SIM Card SIM800L Board
Internet of things
Internet of things
Reviews
There are no reviews yet.